Powered by Blogger.

Two Secrets

>> Tuesday, August 3, 2010

You finally saved enough money for a DSLR camera and realize after a few pictures that it's not anything like you thought it would be. There is a lot to learn, f/stop, ISO, shutter speed. Lots of terminology and lots of confusion. Where do you go from there...

First and most importantly KNOW YOUR CAMERA know where all the buttons are located and what each does, the only way to do this is by reading your camera manual and then re-reading it and re-reading it once more, become familiar with the terminology. Canon, Nikon, Pentax, Sony, Olympus, all different cameras but they all do the same thing, capture light.

Second PRACTICE, PRACTICE, PRACTICE, each moment as insignificant as it may be is the perfect opportunity to practice. You will only get better by learning what you have done wrong, so practice and review your photos then read your camera manual again!

I could go on and on and on about the things you practice on and what settings to put your camera in, but maybe another day. For now this is what I want to share with you.


KEEP YOUR ON BOARD FLASH OFF!!!


The easiest way to ruin a shot is with on camera flash it can ruin the mood of a photograph.  like in these examples first is without flash for a result with smooth shadows and soft skin. second shows bright spots on skin and some hard shadows becoming a true nightmare to edit.


Not all low light situations require the use of flash, particularly your pop up flash. The way it is designed just doesn't allow flexibility of use, it is hard to diffuse and the result is less than flattering in close up situations.


A little thinking goes a long way, there are all sorts of creative ideas to explore when it comes to building your own "natural light studio" takes no effort at all costs little money, if you keep it simple and makes for some great photos.

for a super simple set up this is all you will need:

a room in your home with a lot of natural light
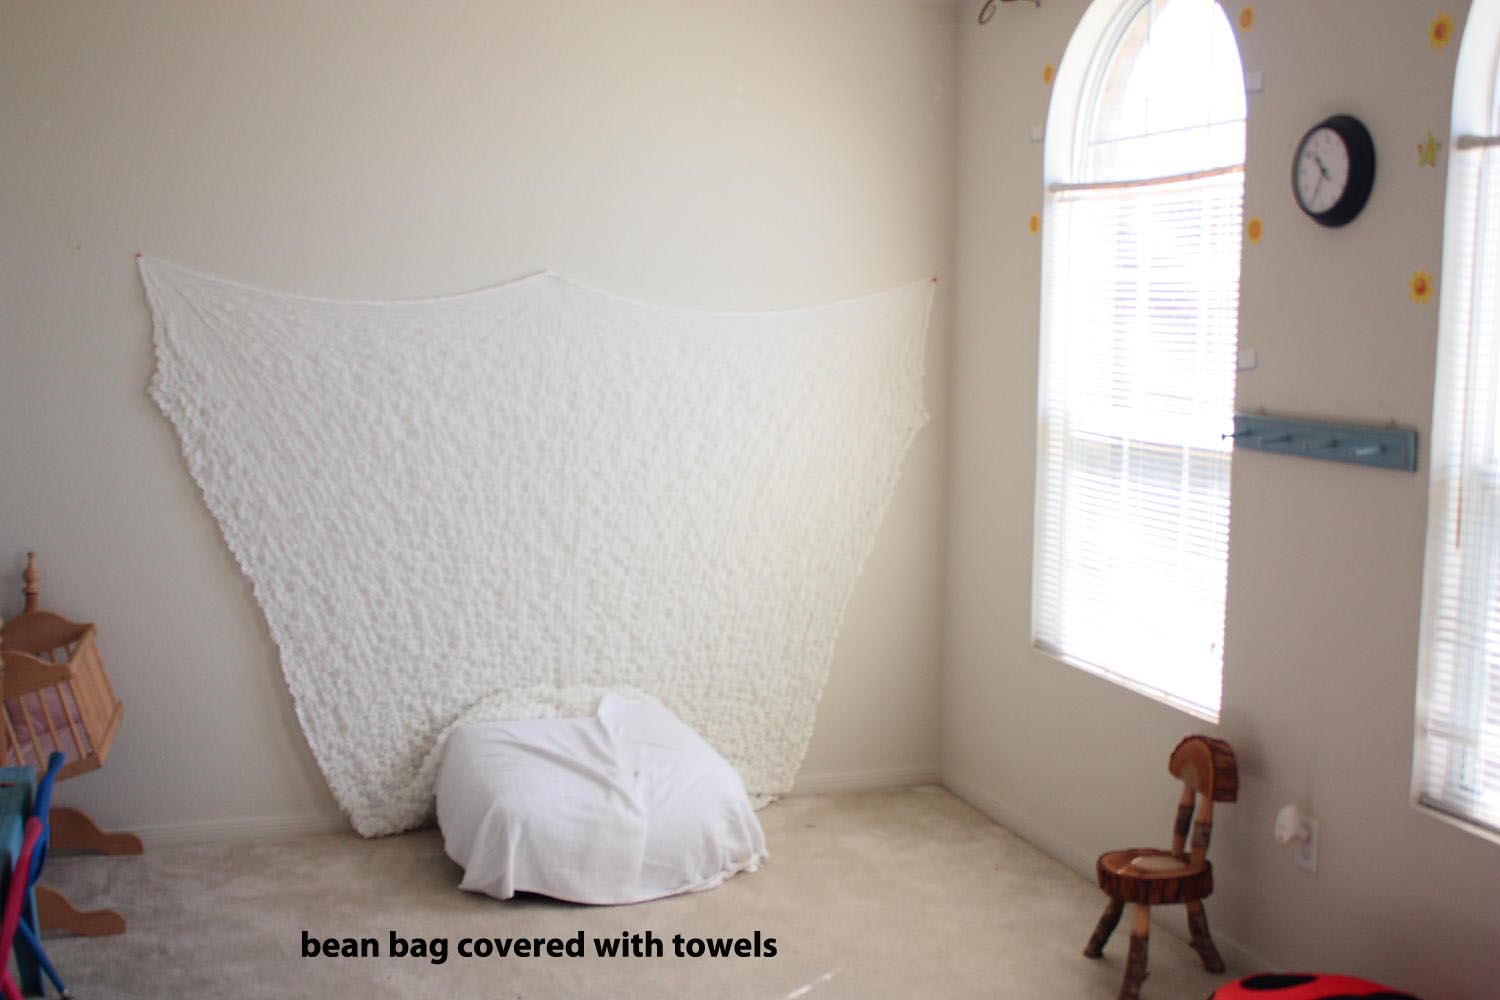
I used a blanket for the backdrop but a sheet or even the plain white wall will work just fine
I covered the beanbag with towels so that I don't have the color showing through the thin blanket
Ideally you would have a backdrop stand but on a limited budget your own "studio" is very much possible
with a willing subject this easy set up will yield photos like this:


Read more...

Dinosaur Party

>> Wednesday, July 28, 2010


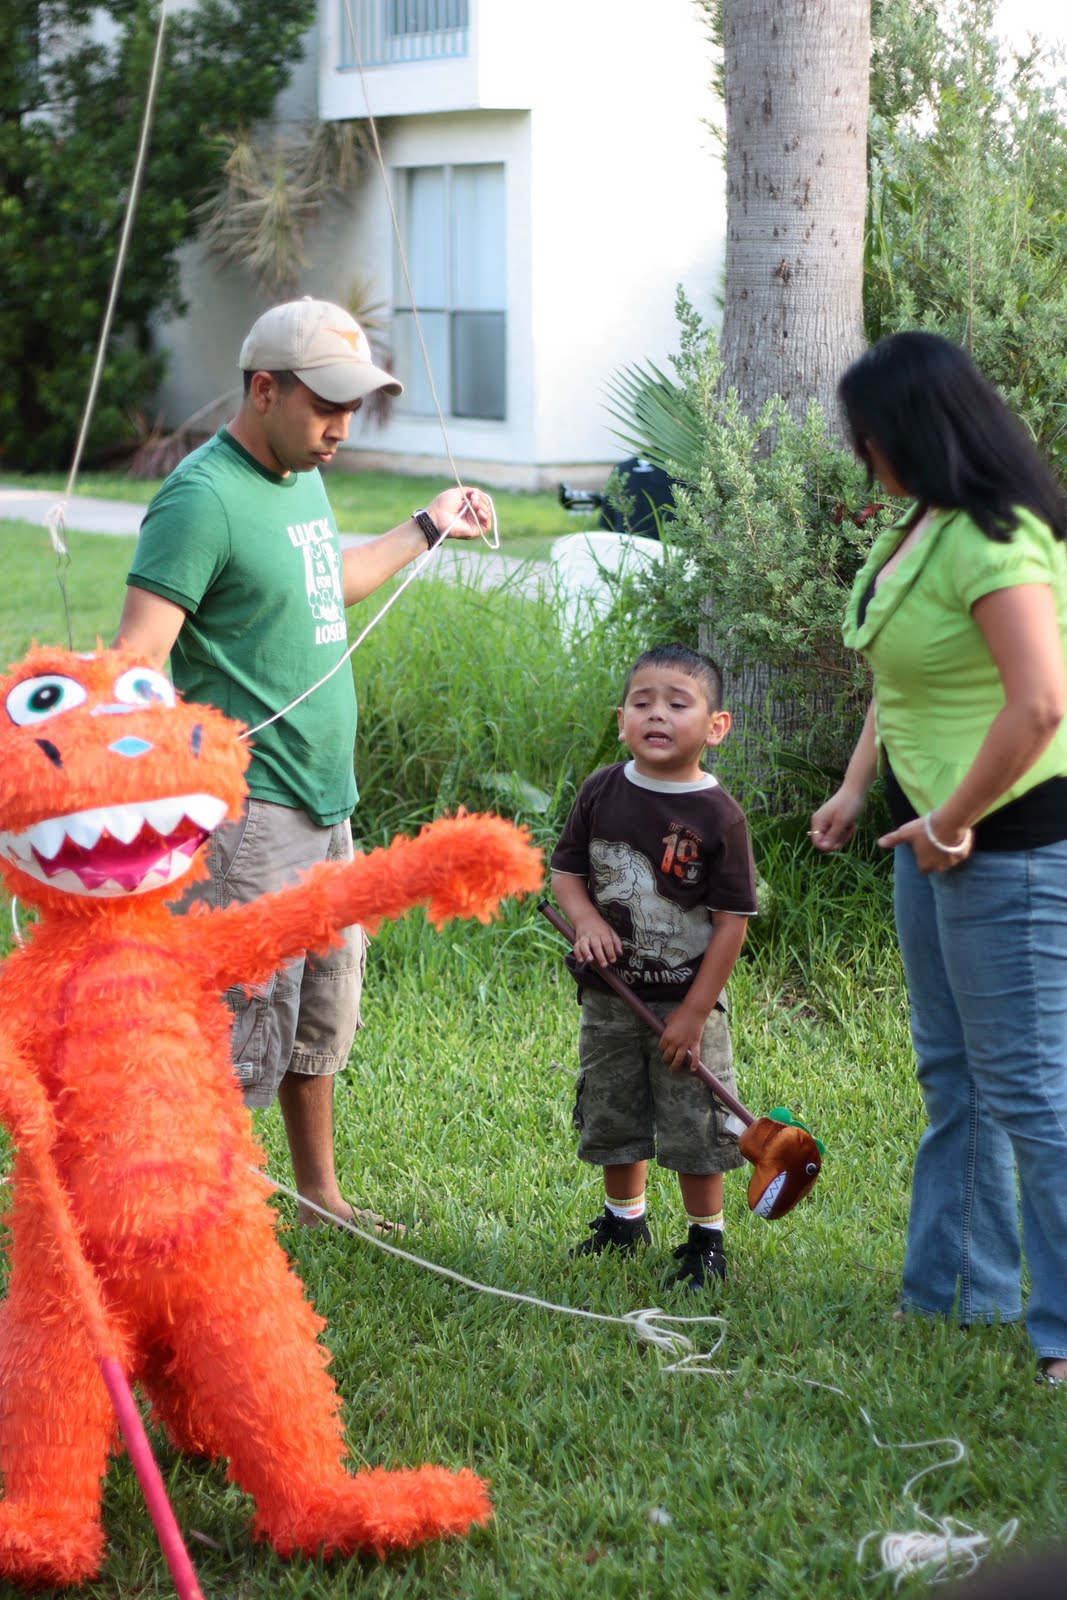
After being postponed one month and then cancelled for another two weeks we finally celebrated Mikey's 4th Birthday. He  chose a Dinosaur theme and it turned out beautiful. It was rushed, hectic, crazy and most of all FUN. I wish I took pictures of the "details" but I didn't I hope my sister or SILs  took some I'll update with theirs soon. Here are a few of the most memorable moments.


It was also Tia Maty's birthday on the day we celebrated mikey so she got a surprise as well :)
Yep It's My Party and I'll Cry If I want To


T-Rex Face


Daddyn on Pinata Duty


Tia Maty has a Chicken Pinata waiting outside for her!!
YEA
and a special gift from her mom


 A wonderful end to a beautiful day

Read more...

Diaper Cake

>> Monday, July 19, 2010

My little sister is having a baby in about 3 weeks I'm so thrilled, I already have a nephew but he is my Brother-in-Law's boy so even though I love him very very much I can't compare the kind of love I feel for my blood nephew I have not met him yet only felt him move. I feel like I know him I can't wait to hold him and give him lots of love. I am gearing up for the many photo sessions I will have with him :) I love newborn sessions :D (will blog on that soon). so In preparation for my sister's baby shower this Friday I made my first diaper cake!!! after rolling 84 size 2 diapers I must say my hands are tired but the result is well worth it.

Ingredients:

box of diapers your choice brand and size, bigger diapers you will need less, and smaller diapers more.


scissors and scotch tape


paper  any kind ( I used my printer paper) cut in strips and then those strips cut in half


 ribbon

the first thing you will have to do is roll the diapers, start with the top part of the diaper facing you and the front to the bottom of the table like this:


then you will place a strip of paper under the rolled diaper, and wrap it around finishing with a piece of tape


roll all the diapers this way how many will depend on the size of your diaper cake

from there the next step would be making the "layers" for that you simply make a circle with the diapers I started with 7 and wrapped a paper around them then add more to make a bigger circle, wrap and tape the paper to look like  like this:


Now stack your layers from largest to smallest like this ( I added a bottle to the to player as a "cake topper" but you can add anything) :


Lastly you will wrap ribbon around the layers to hide the paper, and decorate with baby items like this :


there's always room for improvement but I like how fun this one turned out.

Read more...

Followers

  © Blogger templates Sunset by Ourblogtemplates.com 2008

Back to TOP